How to Secure Your Website with an SSL Certificate
As the internet grows more complex, security becomes an increasingly critical concern. Whether you’re running a personal blog, a portfolio, or an online store, one of the most basic — and essential — steps you can take to protect your website and visitors is to install an SSL certificate. It’s not just a matter of good practice anymore — it’s a necessity.
What is an SSL Certificate?
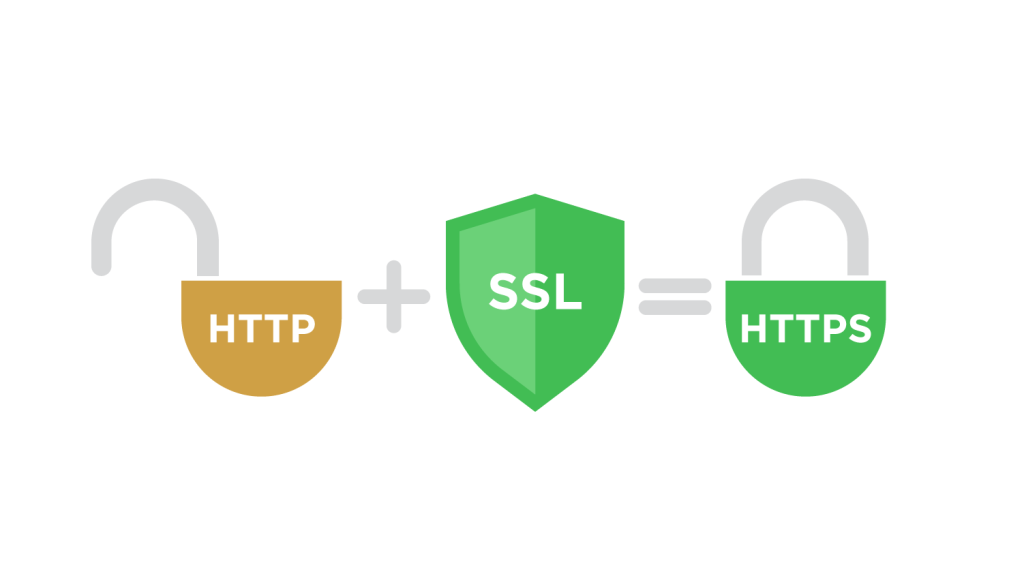
SSL stands for Secure Sockets Layer. It’s a security technology that encrypts the data transferred between a visitor’s web browser and your website. When SSL is active, users will see a padlock icon next to your website’s URL in their browser bar, and the URL will begin with https:// instead of http://.
This encrypted connection ensures that any sensitive information — such as login credentials, personal details, or payment data — cannot be intercepted by malicious third parties. It creates a secure “tunnel” between the user and your website.
Why SSL Matters
Using SSL isn’t just about encrypting data. It has multiple implications for your website’s trustworthiness, performance, and even visibility.
- Data Protection: Any form on your website that collects data — contact forms, newsletter signups, or e-commerce checkout pages — should be encrypted. Without SSL, that information can be intercepted by hackers.
- Trust and Credibility: Users are becoming more security-aware. A site without the padlock icon appears outdated and unsafe. Some browsers even flag such sites with a “Not Secure” warning, scaring off potential visitors.
- SEO Benefits: Google gives ranking preference to HTTPS websites. If you’re hoping to gain organic traffic, SSL is a must-have.
- Compliance with Standards: If you’re handling payments or collecting user information, SSL may be required to meet data protection laws or comply with platforms like PCI DSS.
How SSL Works Behind the Scenes
When someone visits your website:
- Their browser checks for your SSL certificate.
- If found, the browser initiates a secure connection.
- A process known as the “SSL handshake” takes place, verifying your site’s identity and establishing a secure session.
- Once the session begins, all data sent between browser and server is encrypted.
This process happens in milliseconds and is completely invisible to your site’s visitors — yet it has a massive impact on their safety and your reputation.
Types of SSL Certificates
Before installing SSL, it’s helpful to understand the different types available. Not all SSL certificates are created equal.
- Domain Validated (DV): Basic encryption for small websites and blogs. The Certificate Authority (CA) verifies ownership of the domain, but no company details are shown. Fast and affordable.
- Organization Validated (OV): A higher level of verification. The CA checks that the domain is owned by a legitimate business. Visitors can see verified organization information.
- Extended Validation (EV): The most comprehensive SSL. Shows your organization name in the browser bar (depending on the browser). Often used by banks or large e-commerce sites.
- Wildcard SSL: Secures your main domain and all its subdomains (e.g.,
store.example.com,blog.example.com). - Multi-Domain SSL: Lets you secure multiple different domain names with a single certificate — ideal if you’re managing several websites.
How to Get an SSL Certificate
You have several options when it comes to obtaining an SSL certificate:
- From Your Hosting Provider: Many hosting companies offer free SSL certificates via Let’s Encrypt or include SSL as part of a hosting package. This is often the easiest route, as the provider usually installs and renews the certificate for you.
- Let’s Encrypt: A popular non-profit Certificate Authority that provides free, automated SSL certificates. Great for personal websites, though setup may require some technical skills.
- Commercial SSL Vendors: Companies like DigiCert, Sectigo, or GlobalSign offer paid SSL certificates, often with advanced features and warranties. These are ideal for businesses or sites requiring higher assurance.
- Via a CDN: Services like Cloudflare provide free SSL as part of their content delivery and performance packages.
How to Install an SSL Certificate
The installation process depends on your hosting setup:
- cPanel Hosts: Most shared hosting services include a built-in SSL manager in cPanel. You can typically install or activate SSL in a few clicks.
- Managed WordPress Hosts: These often have SSL auto-enabled. You may just need to turn it on in your dashboard.
- Manual Installation: If you’re managing your server (e.g., using Apache or Nginx), you’ll need to upload the certificate files to your server and configure your virtual hosts file. This requires technical knowledge and access to server files.
- Cloud Providers: If you host your site on platforms like AWS, Google Cloud, or DigitalOcean, you can provision SSL through their dashboards or use tools like Certbot to manage Let’s Encrypt certificates.
Redirecting HTTP to HTTPS
After installation, you’ll want to ensure all visitors are using the secure version of your site. This is done by setting up a redirect from HTTP to HTTPS.
- In .htaccess (Apache servers), you can add:
For Nginx, you can modify your server block:
server { listen 80; server_name yourdomain.com; return 301 https://yourdomain.com$request_uri; }Most hosting platforms have this redirect pre-configured or offer a toggle in the control panel.
Fixing Mixed Content Warnings
Sometimes, your site may load images, scripts, or stylesheets over HTTP even after switching to HTTPS. This is called “mixed content” and can break the padlock icon or lead to browser warnings.
To resolve it:
- Update all internal URLs to use
https://. - Use a plugin if you’re running WordPress, such as Really Simple SSL, to automate this.
- Search and replace HTTP URLs in your database.
- Use relative URLs (
/images/logo.png) wherever possible.
Maintaining Your SSL Certificate
SSL certificates don’t last forever. They typically expire in 90 days (Let’s Encrypt) or 1–2 years (paid certificates).
- Enable auto-renewal if your hosting provider supports it.
- Set calendar reminders to check the expiration date manually.
- Monitor your site regularly for certificate errors.
Expired SSL certificates can make your site inaccessible or cause trust issues with visitors.
Beyond the Basics: Strengthening HTTPS
Installing an SSL certificate is a foundational step, but for greater protection, you can layer in other best practices:
- Use HTTP Strict Transport Security (HSTS): This forces browsers to always load your site over HTTPS. It’s configured via a header in your server settings.
- Enable TLS 1.3: A newer, faster, and more secure protocol version than TLS 1.2. Most modern servers support it.
- Run Security Audits: Use tools like SSL Labs to test your implementation and fix any weaknesses.